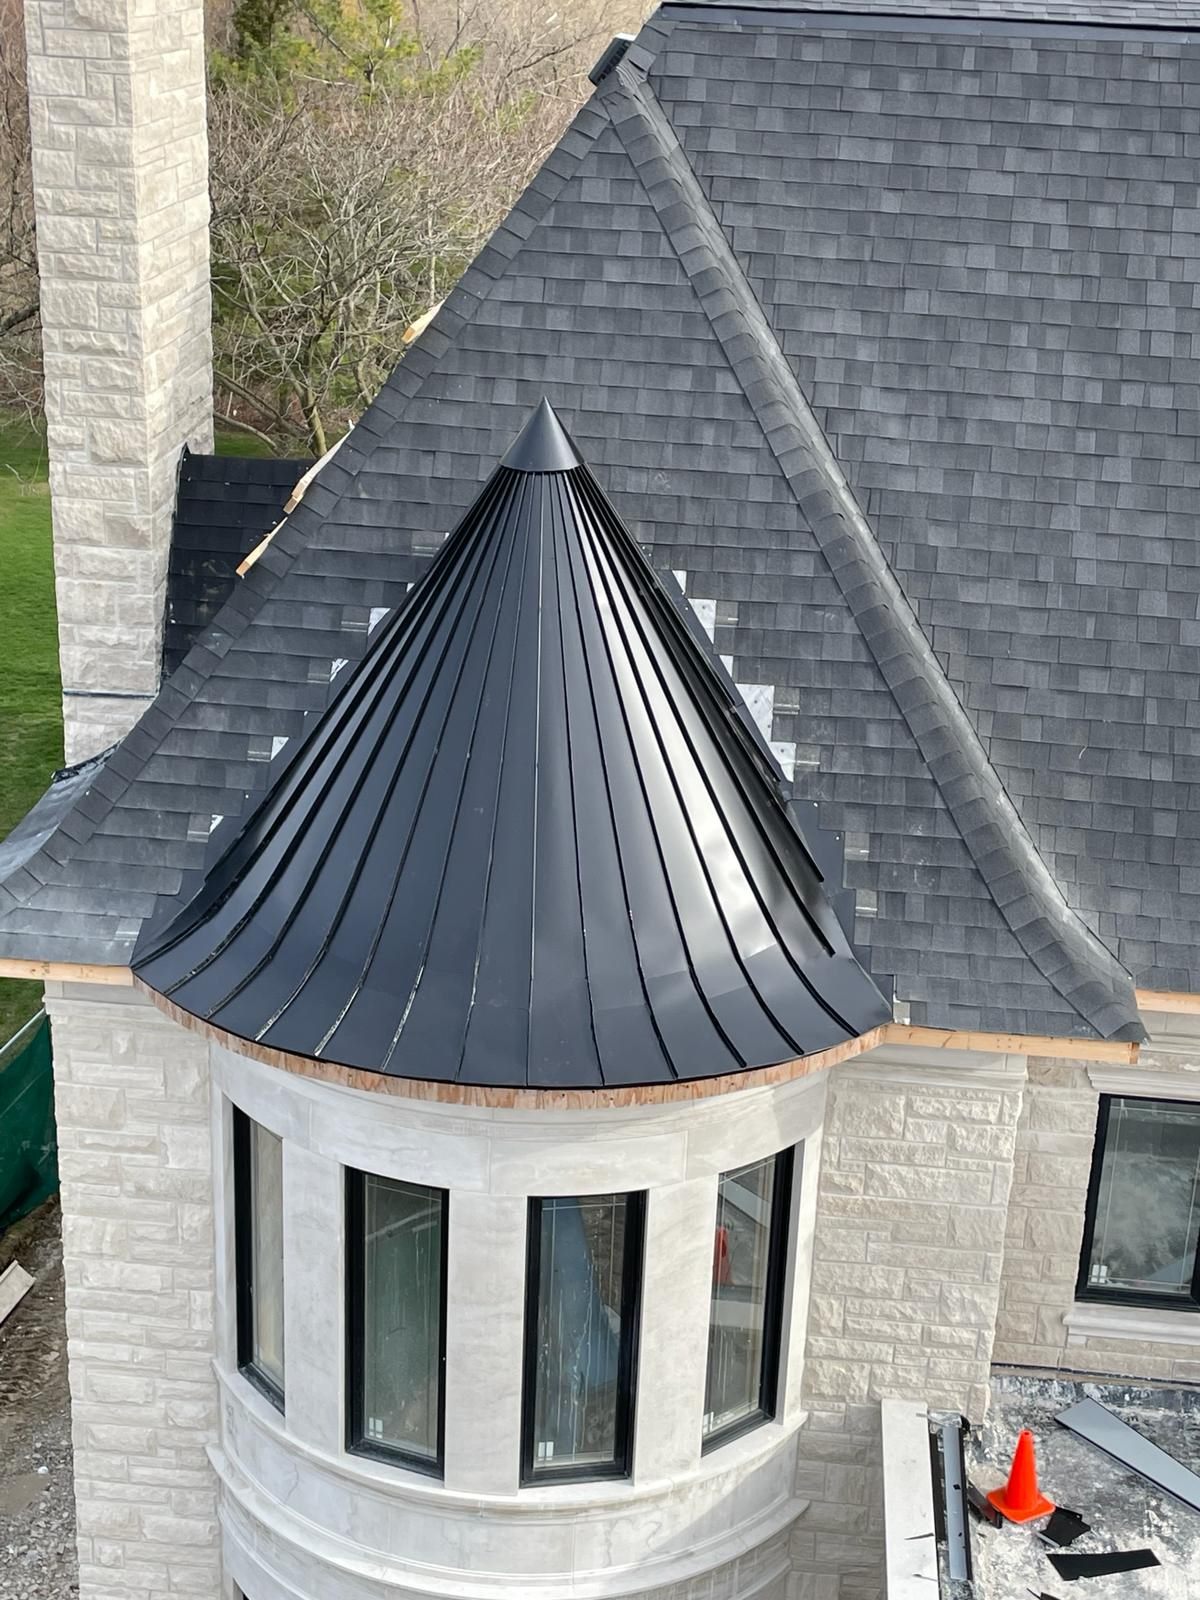
Metal roof installation
Toronto
Installation sequence case study

Metal Roof Installation With Standing Seam Progress Photos

Custom homes and complex rooflines

This case study brings together the progression shots that matter on a metal roof job: active install stages, standing seam alignment, and the finished roof profile. It gives homeowners a better picture of how a metal system comes together than a single finished photo ever could.

Homeowners looking at metal roofing usually want to know what the job looks like mid-project, not just when it is photographed from the driveway. This case study answers that by showing a cleaner install sequence and a more complete view of the work.

Metal/Slate Roof Install (During)
Metal/Slate Roof Install (During) — Metal Roofing project in Toronto with attention to the finish details homeowners usually inspect first.

What We Were Solving

Metal roofing is one of those categories where the finished look only tells part of the story. The panel layout, edge details, sequencing, and trim work all affect how the roof performs, especially on more visible or more detailed rooflines.

What Homeowners Can Take From This Job

The value in a case study is seeing what was failing, why the scope was planned the way it was, and which details made the finished result worth paying for. That is what this page is here to show.


Project Scope

  • Stage the metal roof installation around the roof shape and visible sightlines.

  • Keep the panel layout and seam lines consistent through the active build.

  • Coordinate roofing work with trim, flashing, and edge conditions.

  • Deliver a finished roof that looks sharp and reads cleanly from the ground.

Materials / System Notes

  • Standing seam metal roofing components

  • Roof edge and trim pieces

  • Fastening and panel layout hardware

  • Matching flashing and finish details

Process

  • We laid the project out so the seam pattern and panel spacing would stay controlled through the install instead of being forced at the end.

  • As the roof moved through the active build stage, we watched the edge conditions and trim coordination just as closely as the field panels.

  • The detailed stages matter on this kind of work because small layout decisions become very visible once the roof is complete.

  • The finished result shows the value of steady installation sequencing and a roofline that was thought through before the last panel went on.

Homeowner Takeaways

  • Good metal roofing proof should show installation stages, not only the finished roof.

  • Panel layout, standing seam alignment, and edge details are part of the quality story.

  • A case study helps explain why one metal roof looks deliberate while another looks pieced together.


Before / During / After Project Proof

These images sit beside the project notes so you can compare the workmanship and the explanation in one place.

Metal/Slate Roof Install (During)
During photo
Project completed in Toronto
Metal/Slate Roof Install (During)

Metal Roofing project in Toronto with attention to the finish details homeowners usually inspect first.

Standing Seam Install (During)
During photo
Project completed in Toronto
Standing Seam Install (During)

Metal Roofing project in Toronto with attention to the finish details homeowners usually inspect first.

Custom Home Metal Roof (During)
During photo
Project completed in Toronto
Custom Home Metal Roof (During)

Metal Roofing project in Toronto with attention to the finish details homeowners usually inspect first.

Metal Roof Build (During)
During photo
Project completed in Toronto
Metal Roof Build (During)

Metal Roofing project in Toronto with attention to the finish details homeowners usually inspect first.

Standing Seam Metal Roofing (After)
After photo
Project completed in Toronto
Standing Seam Metal Roofing (After)

Metal Roofing project in Toronto with attention to the finish details homeowners usually inspect first.

Metal Turret Roof Finish (After)
After photo
Project completed in Toronto
Metal Turret Roof Finish (After)

Metal Roofing project in Toronto with attention to the finish details homeowners usually inspect first.


Case Study FAQ

Because they show the installation sequence, seam alignment, and edge detailing that a homeowner cannot judge from a single after photo.

A real case study explains what was being installed, what details mattered, and what the homeowner should notice about the finished system.

Recent Roofing & Exterior Guides

If you want planning advice to go with the project photos, start here. These guides answer the practical questions homeowners usually ask before they book.

Roof Inspection in Toronto: A Practical Checklist for Leaks, Flashing, and Early Repairs
Roofing

Roof Inspection in Toronto: A Practical Checklist for Leaks, Flashing, and Early Repairs

A detailed guide to roof inspections in Toronto & the GTA—what pros check, common warning signs, when to book an inspection, and how to plan repairs before leaks spread.

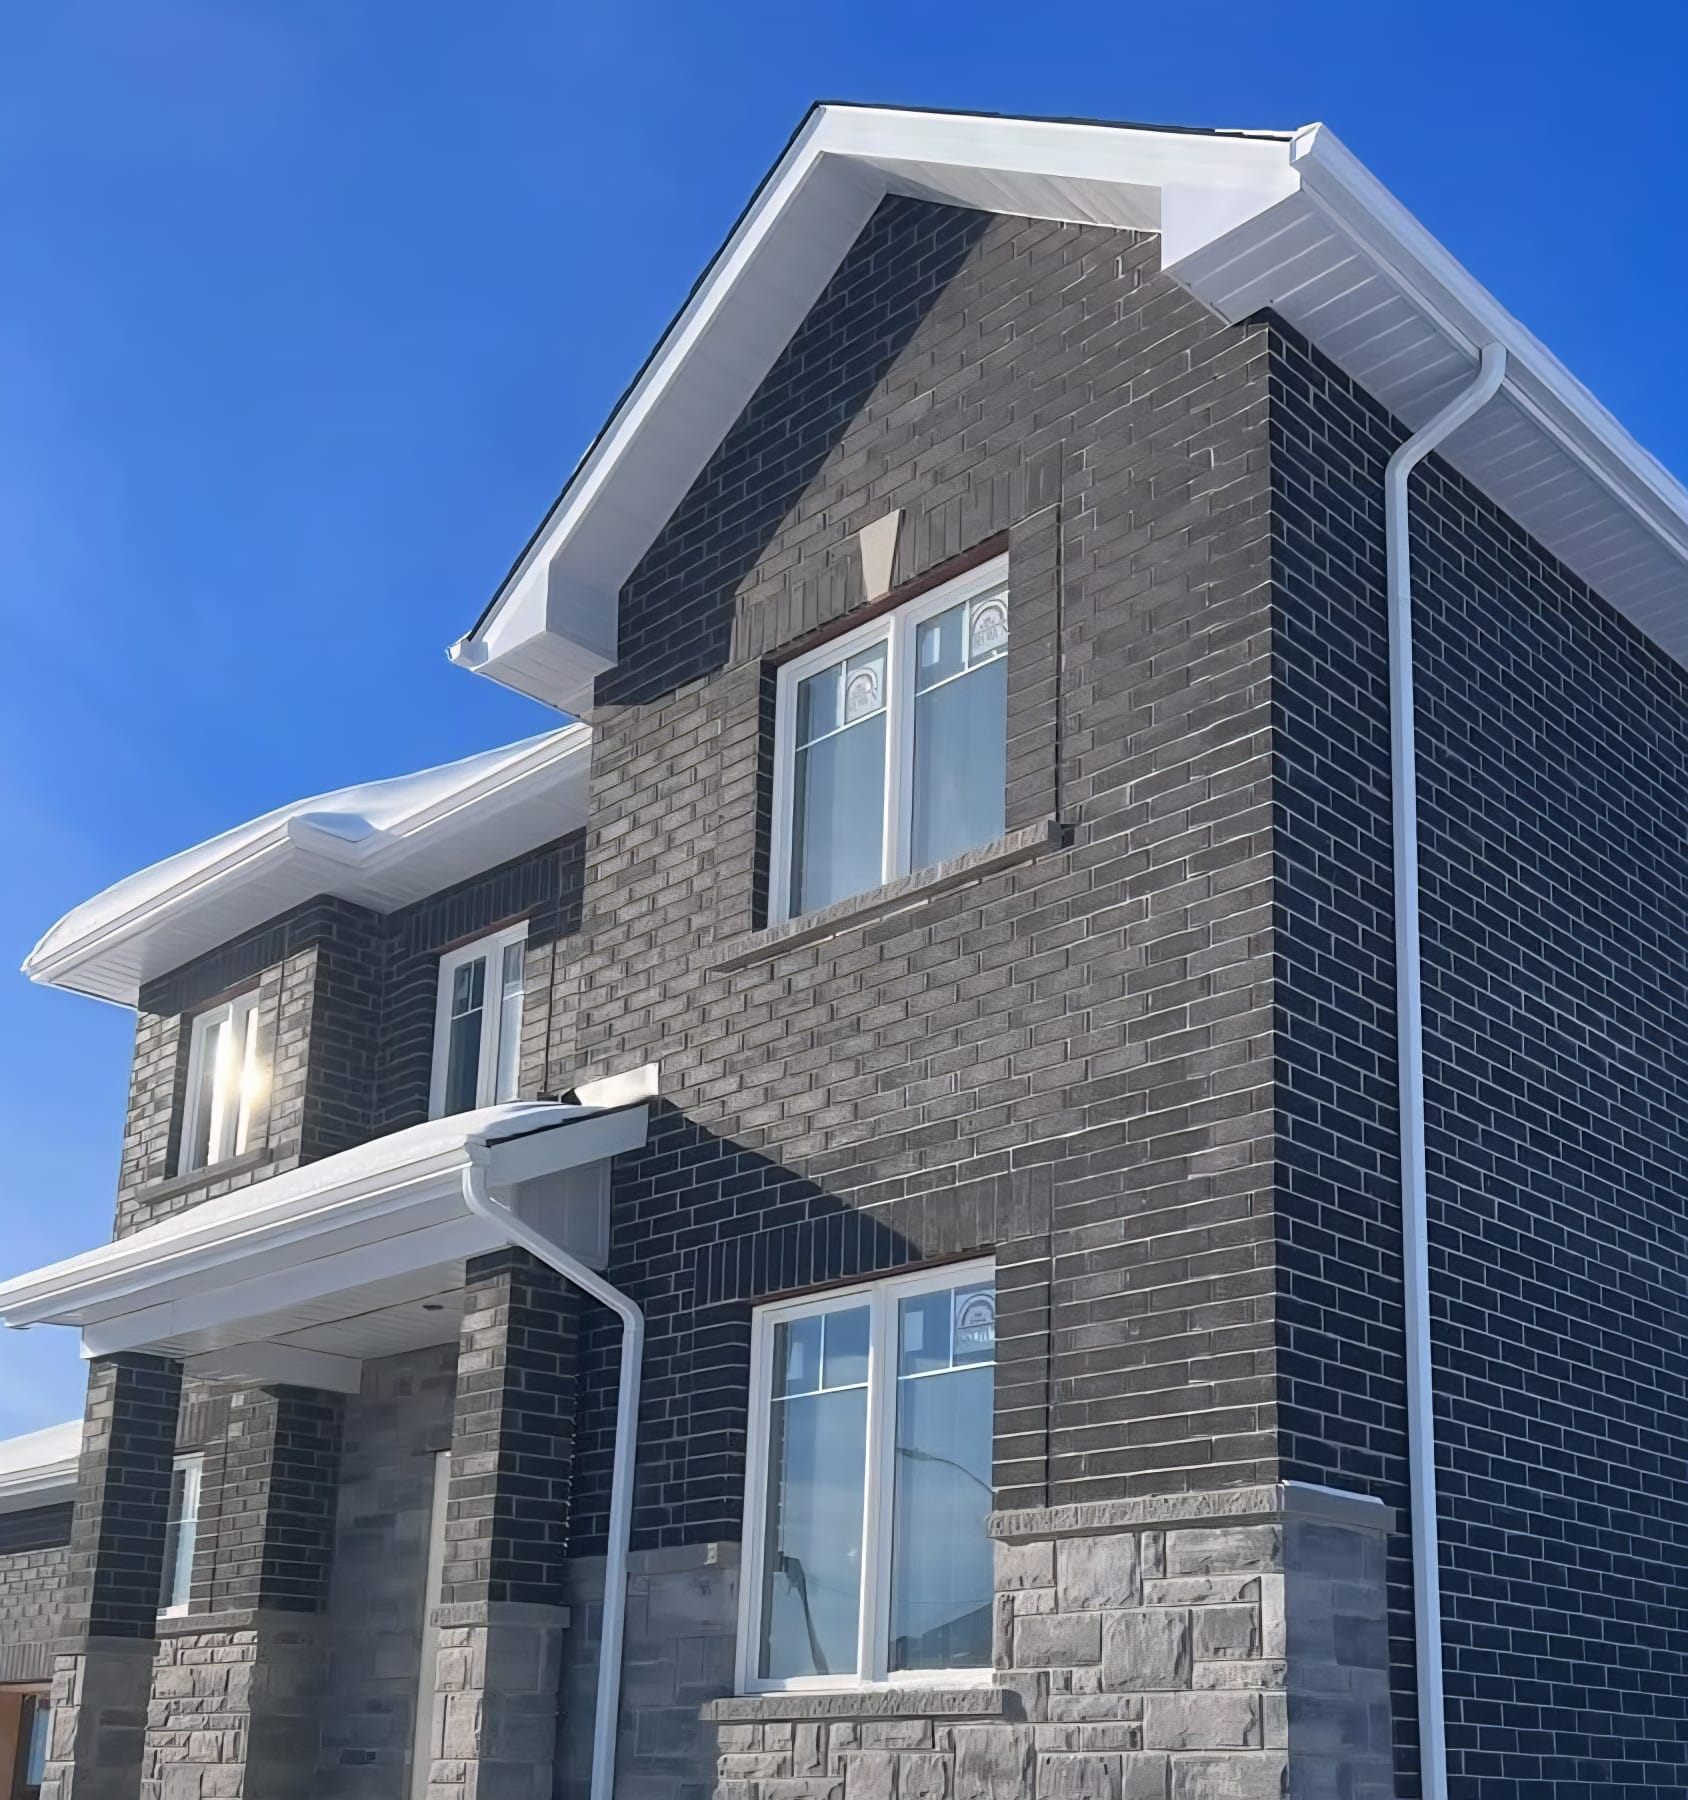
Flashing & Vent Sealing in Toronto: The Hidden Details That Stop Roof Leaks Before They Start
Roofing

Flashing & Vent Sealing in Toronto: The Hidden Details That Stop Roof Leaks Before They Start

A detailed guide to flashing and vent sealing in Toronto & the GTA—why most leaks start at penetrations, what proper flashing looks like, and how to avoid repeat leaks.

Siding Installation in Toronto: Materials, Moisture Control, and a Clean-Finish Checklist
Siding & Cladding

Siding Installation in Toronto: Materials, Moisture Control, and a Clean-Finish Checklist

A detailed homeowner guide to siding installation in Toronto & the GTA—materials, wall prep, flashing, moisture control, timelines, and how to compare quotes.