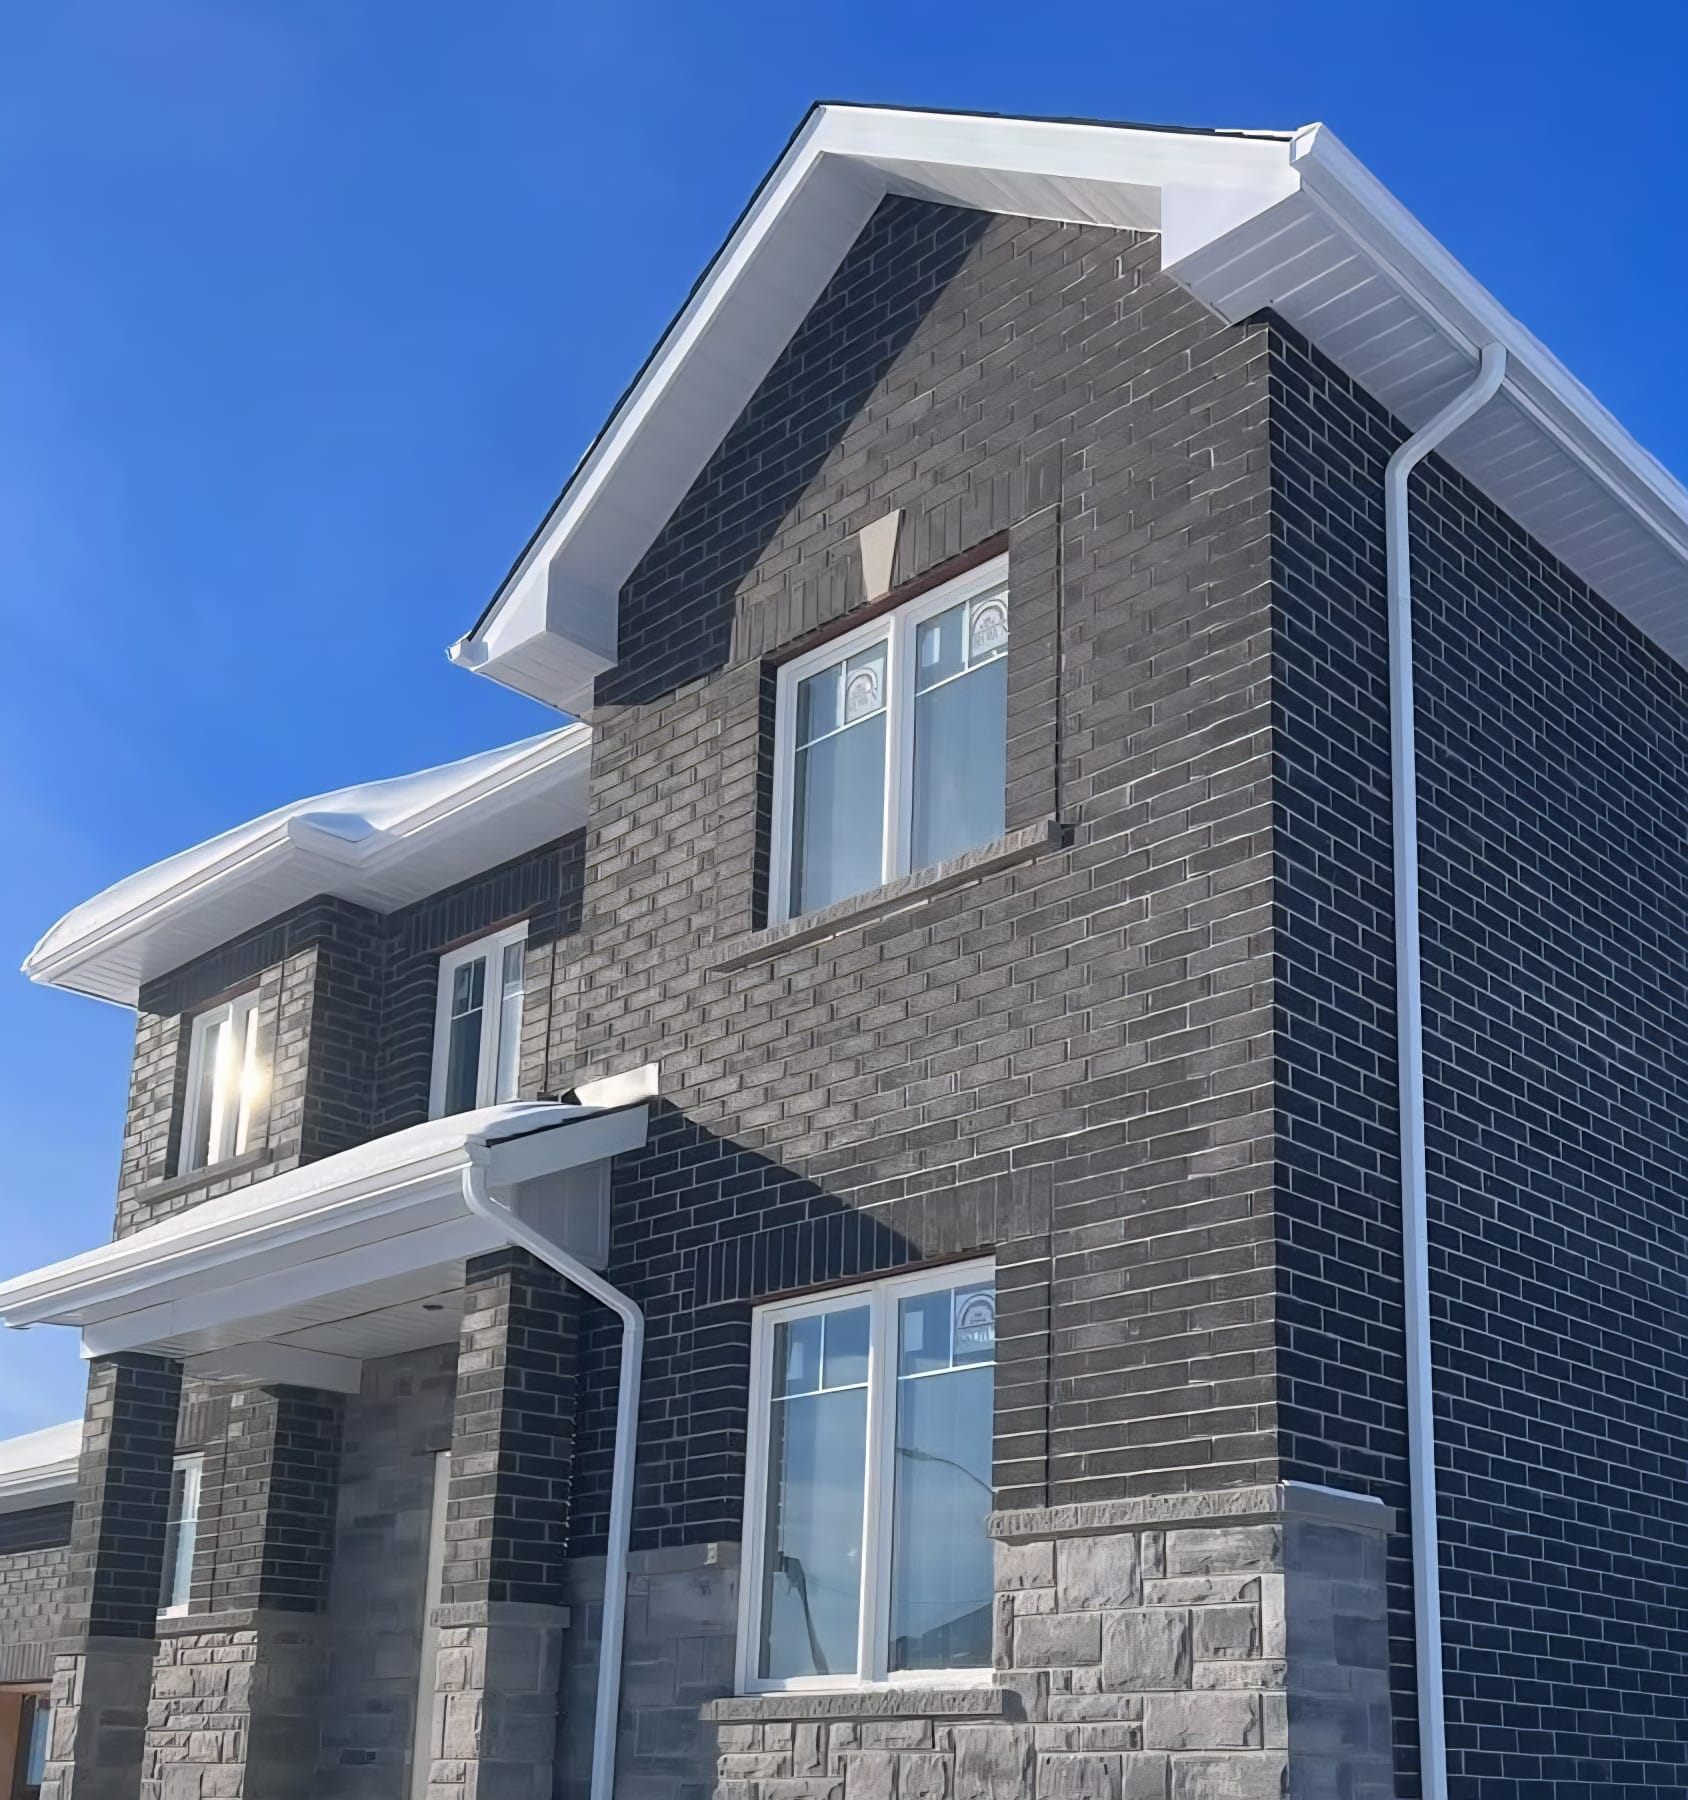
Full siding replacement
Toronto
Multi-stage exterior project

Siding Replacement From Wall Prep To Finished Elevation

Detached and semi-detached homes

This project story shows how we handle a siding replacement when the wall needs proper prep before the finished cladding goes on. Instead of treating the visible siding as the whole job, we worked from the wall prep outward so the finished elevation looked clean and the system made sense long-term.

The result was a much cleaner finished elevation backed by a better prep sequence. For homeowners comparing repair against replacement, this is the kind of project that shows why the work behind the siding matters just as much as the look of the final panel.

Exterior Wrap Prep (Before)
Exterior Wrap Prep (Before) — Siding Repair project in Toronto with attention to the finish details homeowners usually inspect first.

What We Were Solving

The exterior had reached the point where patching the face would not have solved the underlying issue. The prep layer, exposed wall areas, transition points, and finishing details all had to be handled together so the new siding would perform the way it should.

What Homeowners Can Take From This Job

The value in a case study is seeing what was failing, why the scope was planned the way it was, and which details made the finished result worth paying for. That is what this page is here to show.


Project Scope

  • Expose and prepare the wall assembly before new finish materials were installed.

  • Stage the siding work so trim lines, transitions, and fastening details stayed clean.

  • Rebuild the exterior in a sequence that protected the wall while the work was in progress.

  • Finish the elevation with a cleaner, straighter, more durable cladding result.

Materials / System Notes

  • Weather barrier and wall prep materials

  • New siding panels and trim accessories

  • Termination details and sealant at critical transitions

  • Fasteners and finishing components matched to the cladding system

Process

  • We started by opening the wall where needed so we could see the prep conditions instead of guessing behind the finished surface.

  • Once the wall was ready, we staged the siding install in a sequence that kept the job protected and kept the visible lines straight.

  • During the install, we paid attention to corners, openings, and tie-ins so the finished look would read as one complete system instead of separate patches.

  • The final stage was the finish work: making sure the profile, trim, and transitions looked deliberate from the street and not rushed.

Homeowner Takeaways

  • If the wall prep is failing, new siding alone is not the full solution.

  • Before, during, and after proof helps homeowners see whether a contractor is showing the whole process or only the finished face.

  • The cleanest siding jobs usually come from good sequencing, not quick cosmetic patching.


Before / During / After Project Proof

These images sit beside the project notes so you can compare the workmanship and the explanation in one place.

Exterior Wrap Prep (Before)
Before photo
Project completed in Toronto
Exterior Wrap Prep (Before)

Siding Repair project in Toronto with attention to the finish details homeowners usually inspect first.

Sheathing & Insulation Prep (Before)
Before photo
Project completed in Toronto
Sheathing & Insulation Prep (Before)

Siding Installation & Replacement project in Toronto with attention to the finish details homeowners usually inspect first.

Siding Crew At Work (During)
During photo
Project completed in Toronto
Siding Crew At Work (During)

Siding Repair project in Toronto with attention to the finish details homeowners usually inspect first.

Siding Install In Progress (During)
During photo
Project completed in Toronto
Siding Install In Progress (During)

Siding Repair project in Toronto with attention to the finish details homeowners usually inspect first.

Siding Replacement (After)
After photo
Project completed in Toronto
Siding Replacement (After)

Siding Installation & Replacement project in Toronto with attention to the finish details homeowners usually inspect first.


Case Study FAQ

It usually makes more sense when the wall prep, exposed sections, and finish layer all need attention together. If several transitions are already failing, one more isolated patch often just delays the bigger fix.

Ask to see the prep stage, not only the finished photos. That tells you whether the contractor is addressing the wall build-up, trim transitions, and moisture-control details that actually affect durability.

Recent Roofing & Exterior Guides

If you want planning advice to go with the project photos, start here. These guides answer the practical questions homeowners usually ask before they book.

Siding Installation in Toronto: Materials, Moisture Control, and a Clean-Finish Checklist
Siding & Cladding

Siding Installation in Toronto: Materials, Moisture Control, and a Clean-Finish Checklist

A detailed homeowner guide to siding installation in Toronto & the GTA—materials, wall prep, flashing, moisture control, timelines, and how to compare quotes.
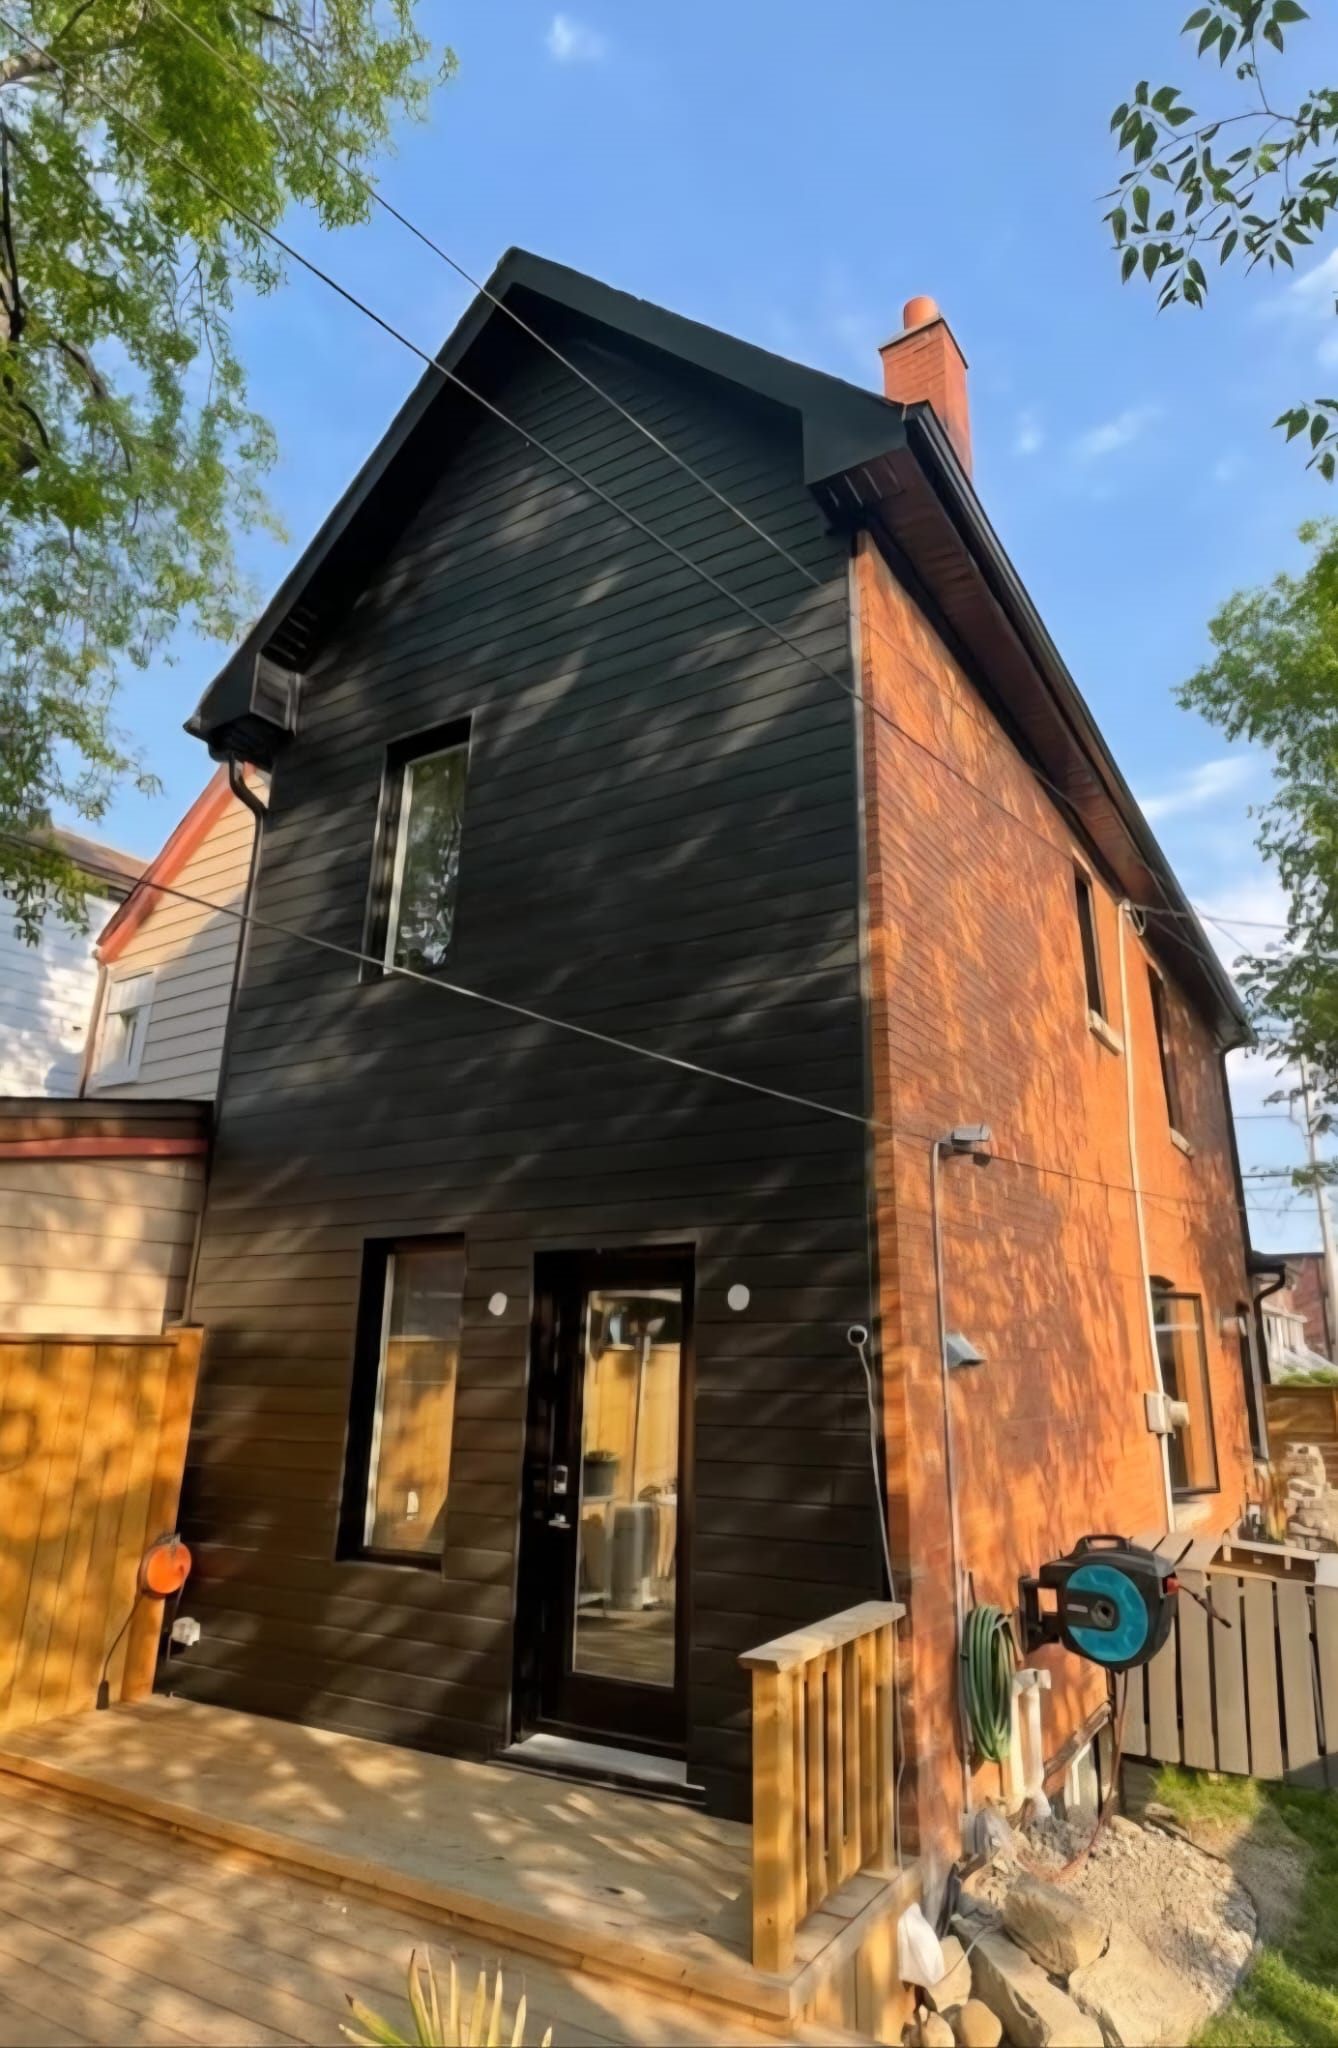
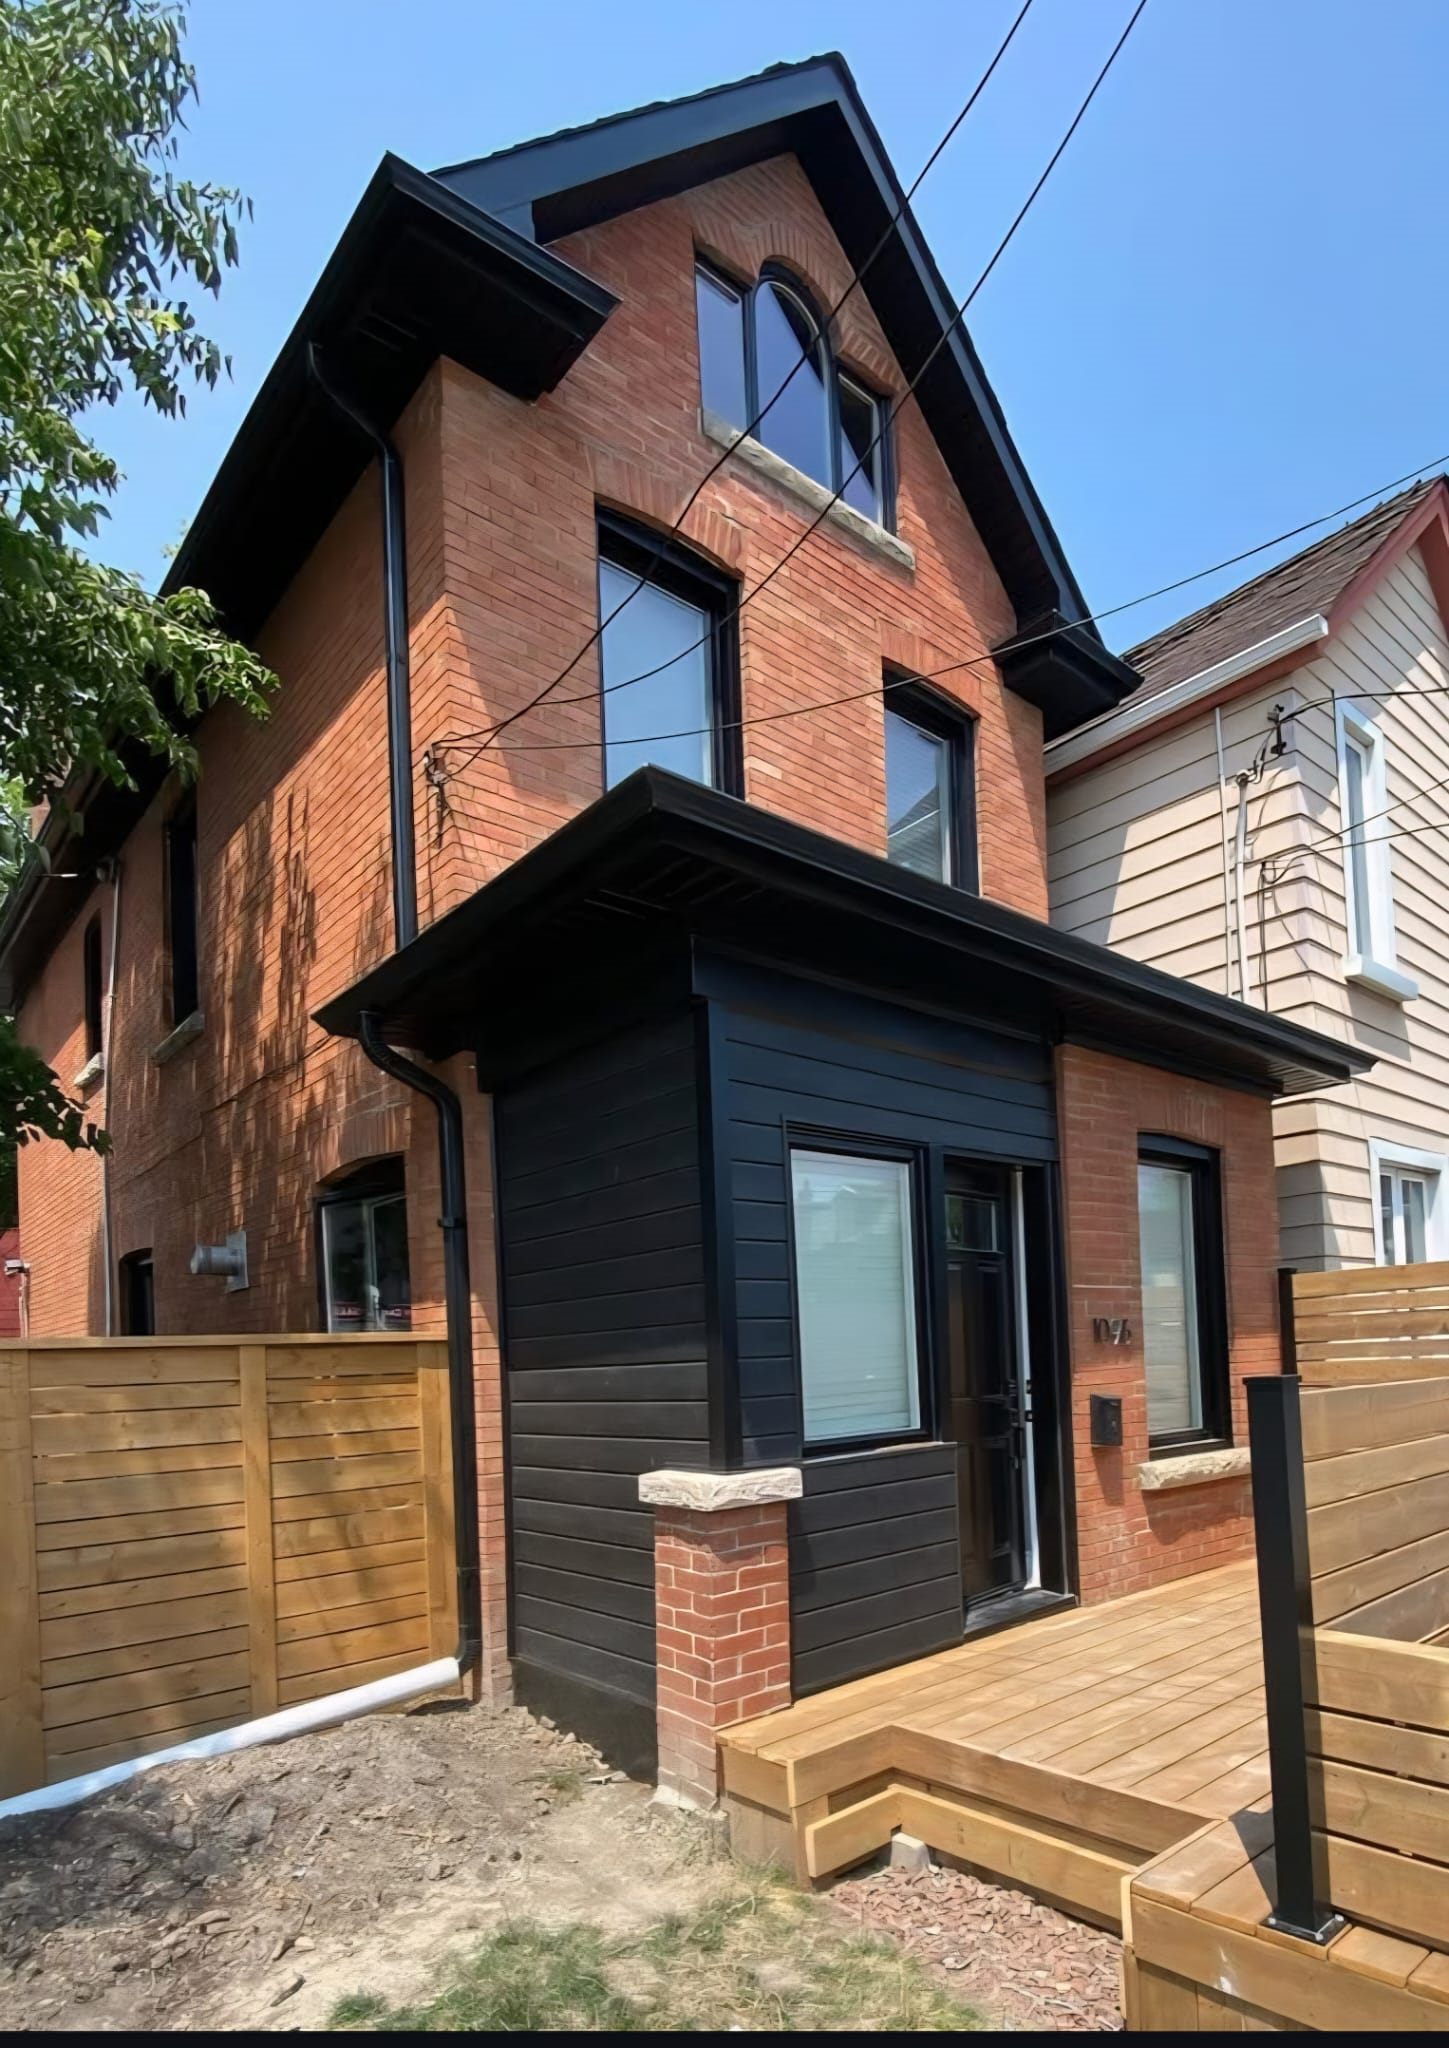
Siding Repair in Toronto: How to Spot Hidden Damage and Prevent Water Behind the Cladding
Siding & Cladding

Siding Repair in Toronto: How to Spot Hidden Damage and Prevent Water Behind the Cladding

A detailed guide to siding repair in Toronto & the GTA—how to spot storm damage, loose panels, leaks, and rot, plus what a proper repair scope should include.

Fiber Cement (Hardie) Siding in Toronto: Pros, Cons, and Installation Details That Matter
Siding & Cladding

Fiber Cement (Hardie) Siding in Toronto: Pros, Cons, and Installation Details That Matter

Learn when fiber cement (Hardie) siding makes sense in Toronto & the GTA, how it’s installed, common mistakes to avoid, and what impacts durability and finish quality.